Thursday, July 15, 2021

A Ruffley Rayon Gauze Boho Breeze

 I don't generally buy Winter Wear Designs patterns. As part of the blogger team I get sent the patterns I want for free in exchange for blogging about them during a tour. With this arrangement, if there's a pattern I want I simply wait for the next blog tour and figure out how I could use that pattern to fit the tour theme and then request it. This system has an added bonus of giving me a deadline so I have to get the pattern sewn in a timely matter rather than adding it to my miles-long "I will sew this one day" list.

All that said, a few years ago I bought the WWD Boho Breeze Romper and Dress pattern when it was on sale.


It was a pretty pattern, I liked the off the shoulder raglan sleeves, and I wanted the maxi-dress version in my closet. Now! So, as I like WWD and am happy to support Suzanne, the designer, I bought the pattern real quick rather than wait for an applicable blog tour. And then proceeded to not get around to sewing it. Until this blog tour. Three years later.


Yeah. I work best with deadlines.


So, here we are, this "Summer Style" blog tour has rolled around and I decided I was absolutely, positively, going to sew up a Boho Breeze dress for it. It was time, past time really, for me to use this pattern!


My plan was to sew up the dress, rather than the romper option, and add a few ruffles to personalize it a bit. I do enjoy putting my own spin on WWD patterns! Now what fabric would I use?


In the past few years I discovered I don't particularly like knit dress. They stretch and don't support pockets very well. I stick things in the pockets and they end up at my knees and distort the side seams of the dress. It's not very present. Thus, I prefer woven dresses. However, the Boho Breeze is a knit pattern. Could it, would it, possibly work with a woven fabric?


 This question was actually answered last year on another WWD blog tour when Maglice&So made a Boho Breeze dress out of double gauze. This loosely woven fabric worked and it was beautiful!! This dress inspired me to make my dress out of double gauze, or something similar.


"Something similar" wound up being a vintage crinkle rayon gauze type thing, given to me by my best friend's mom in a lot of stuff from her mom's sewing stash. My stash is short on cotton double gauze. This fabric is a bit heavier than I would have preferred for a summer dress, but it has a nice drape and a bit of stretch to it due to the weave and I knew it would work very well with this pattern.


 I usually blend between sizes S and M in WWD patterns, but since I was doing a knit pattern in a woven fabric this time, I opted to do a straight M. I didn't want the dress to be too tight! 


I cut out the bodice with 3/4 length sleeves and cut the skirt approximately according to the knee length skirt dimensions given in the pattern instruction, but with one notable difference. I cut it with just a center back seam and no side seams. The remainder of the fabric I cut into ruffles.


A nice wide ruffle for the hem.


Full ruffles for the sleeves.


Then I went to cut a ruffle for the neckline and discovered I didn't have enough fabric for a really good ruffle. Oops. Maybe I should have cut the sleeve ruffles a little less full or the hem ruffle a little less wide. Oh well. So my neckline ruffle is really just a wide band with a hint of a flounce to it.


The only way this slight flounce lays nicely is for the dress to be worn off the shoulder, which is really cute, but I'm not a fan of strapless bras so I cut little shoulder ties to cover my bra straps. Emphasis on little, I only had fabric scraps left here. 


Now remember how I said I cut the skirt with only a center back seam and no side seams? Well, when I started sewing the dress together I realized my mistake. I didn't have side seams to put pockets in. As dresses without pockets are a disgrace in my world, I would have to figure something else out.


So I made tear-drop shaped cut out pockets on either side of the skirt. They look cute and fix the pocket issue!


When the dress was on I put it on and was overall very pleased with how it turned out! There's just one thing. This fabric is warm! Not the best choice for a summer dress.


It is very nice in chilly air conditioned settings at least. Such as restaurants. 


I wore this dress when my husband took me out to dinner for my birthday and found it to be very comfortable! 


That said, save for the occasional dinner out, I think this dress will mostly stay in my closet until Fall rolls around! Whatever this fabric is, it's not a summer fabric!


Unseasonable fabric as it is, I'm still very, very, glad I finally made this dress! 

Now if you want to see some WWD makes that actually turned out to be more summer appropriate, check out the rest of the blog tour!

7/12

Patricia of Sew Far North

7/13

Alyssa of The Sewing Goat Herd

Suzanne of WWD

7/14

Rachel Reece of Violets and Jewels

Ilse of Sew Sew Ilse

7/15

Kristen Guest Posting at WWD

Alyssa of The Sewing Goat Herd

7/16

Laurie of The Bear and the Pea Atelier

Patricia of Sew Far North


Tuesday, July 13, 2021

A Winter Wear Designs Journey to Nantucket Style

 When the Winter Wear Designs Summer Style Blog Tour was announced, I was definitely eager to hop on board and participate! I've gone into how ready I was to sew some every day stuff after the wedding right? Right. You've heard it. And there's nothing like a WWD blog tour to add fun new garments to my wardrobe! The garments I've made for previous blog tours seriously get worn all the time. I love these excuses to make new outfits for myself and I have a lot of fun playing with the different WWD Patterns!


So, what would I make for this blog tour? Susanne gave us a list of summer style ideas to get started with. Among them were options such as "boho", "date night", and "Nantucket". My mind ran right to the "boho" idea because, ruffles, and skipped right over the "Nantucket" theme because I've never been to New England, let alone a New England beach, so what do I know about Nantucket?


My subconscious, however, apparently registered this "Nantucket" idea. As I was going through my fabric stash to find something for my "boho" plans, I came across a blue and white striped rayon challis, picked up from the pre-cut bin at Wal-Mart last summer. It pretty much screamed "Nantucket" at me, so I decided I needed to give this theme a try!


When I bought this fabric I'd planned on turning it into a loose, flowing, maxi dress. Thus, I started brainstorming which WWD pattern could be easily hacked into such a thing. Then I hit the pause button. I wasn't sure if the maxi dress idea fit the "Nantucket" idea. I did a quick Pinterest search of "Nantucket Style". I saw a couple striped maxi dresses. Perfect! The plan was back on!


After thinking through the style of dress I wanted, I chose the Journey Dress pattern as my starting point.


I began by tracing off the yoke pattern pieces and re-drawing the neckline to make it lower and wider.


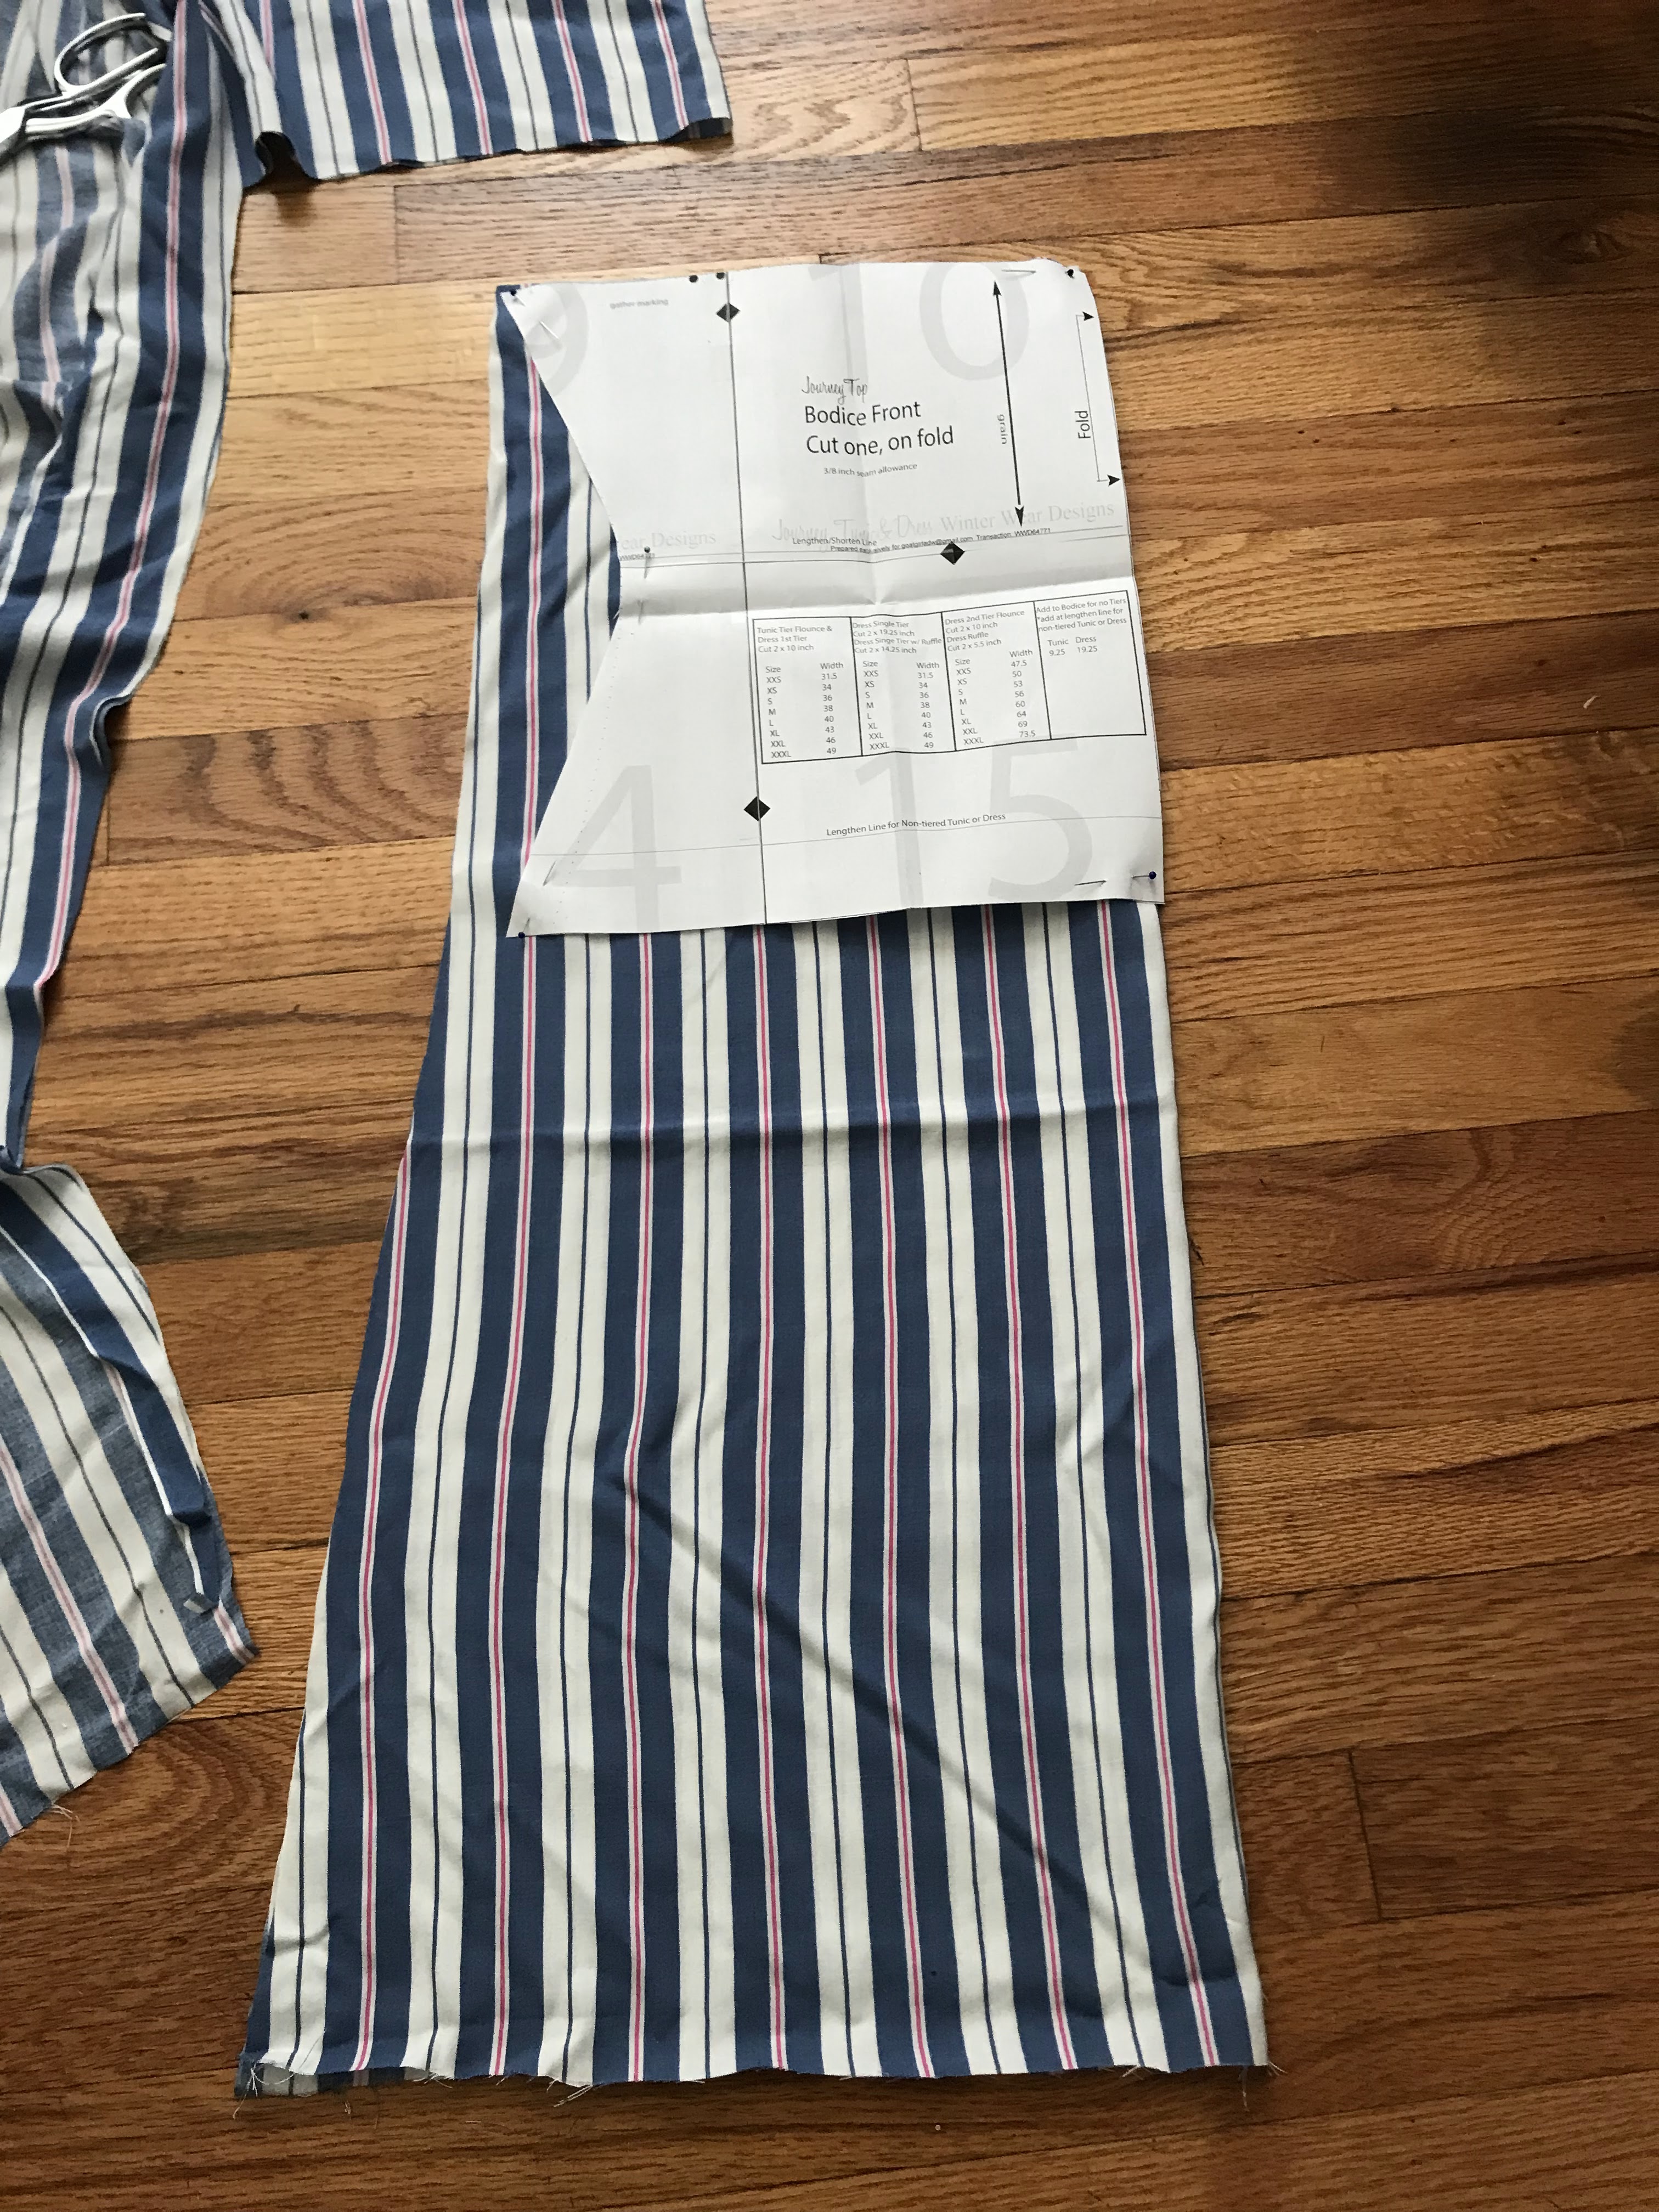
Then I took the bodice front pattern piece, eliminated most of the waist shaping to get the loose flowing look I was going for, and lengthened it to be below knee length.


I eliminated the waist shaping on the back bodice piece too, but I didn't lengthen it. 


Instead I cut a wide ruffle to sew onto the bottom of the back bodice to make it the same length as the front bodice.


Finally, I cut a nice wide ruffle to go all around the bottom of the dress.


Oh, and some patch pockets.


Because pockets are mandatory. 


And with that, I had my Nantucket-inspired, loose, flowing, ruffly, striped, maxi dress.


It is comfortable!


And cute!


I've worn it for church, and just hanging out at home sewing, or running errands.


I have not worn it to work however. The combination of white stripes and young children sounds risky.


This is more of a weekend dress for me.


That's it! If you'd like to see more Summer style inspiration using Winter Wear Designs patterns, check out the rest of the blog tour!

 Don't miss out on any of the stops along the tour!!!

7/12

Patricia of Sew Far North

7/13

Alyssa of The Sewing Goat Herd

Suzanne of WWD

7/14

Rachel Reece of Violets and Jewels

Ilse of Sew Sew Ilse

7/15

Kristen Guest Posting at WWD

Alyssa of The Sewing Goat Herd

7/16

Laurie of The Bear and the Pea Atelier

Patricia of Sew Far North


Saturday, July 10, 2021

My Wedding Corset

 When we left off two weeks ago, I'd come to the conclusion I needed to make a corset to wear under my wedding gown to support the weight of my hoop skirt. I wasn't thrilled. I'd already cut out my bodice according to the mock-ups I'd fitted over my modern bra and no corset. This meant, to use the bodice I'd cut out of my wedding dress silk, I'd need to make myself a corset that didn't alter my proportions too much, and put my bust at the same level and shape as it was in a modern bra. None of my historical corsets quite fit this requirement, so I would need to start with a new pattern!


One of my more recent corsets, my Edwardian S-bend, was made from a free corset pattern by corset maker Aranea Black. She has a wonderful corset pattern collection available for free on her website! My S-bend corset is incredibly comfortable, so I decided it would be worth checking to see if Aranea Black had any corset patterns with the right shape to go under my wedding dress. Most of her patterns are more modern than historical, but in this instance I decided something more modern might be just what I needed to keep the modern bust shape my bodice had been fitted to.


After looking through the options, I picked the over-bust Sylvia corset. With a nicely curved over bust shape and 6 different cup sizes to help get the bust fit just right, it seemed like a very good starting point!


I printed the pattern out, measured myself, picked my size, added seam allowance to the pattern, and made my first mock-up - boned with zip ties with a separating zipper in the front for easy on and off.


This first mock-up was too big. I'd been worried about making it too small, so I'd apparently gone too far the other way. I removed the zip ties, zipper, and lacing strips from my mock-up, double checked which size I'd used for my S-bend corset (one size smaller than I'd cut this mock-up), and cut down my pattern down to the correct size.


I made a second mock-up and tried it on.


The bust fit still wasn't quite right and the mock-up was a little tight in the hips.


So I added a little more room in the hips.


And re-shaped the bust a little bit.


I made a third mock-up, and tried my final wedding dress bodice mock-up on over it.


It worked!! The bust was at the right level and it was the right shape!


My bodice mock-up was now a little large in the waist, as the corset decreased my waist measurement a couple of inches, but that could easily be fixed by just deepening the waist darts a little bit on the final bodice!


With the mock-up made and perfected, I cut out my corset! The outer layer from the same silk twill I was using for my dress, and the strength layer from a cotton twill with zero stretch.


I sewed my corset together using the "welt" seam method, which is incredibly quick and easy and allows you to use your seam allowance to make boning channels, rather than applying those separately later on. 


I boned my corset primarily with spiral steel boning - something I always keep on hand - but I used spring steel to bone the back panel on either side of the grommets. Spiral steel doesn't properly support grommets on a corset.


Once all the boning was in, I bound the top and bottom edges with bias strips of silk twill and trimmed the top edge with lace.


Finally, I installed grommets in the back, according to the pattern template,


And laced it up with linen tape! (I know a lot of people use ribbon for corset lacing, but I've found linen tape to be the most durable of the lacing materials I've tried, so I always keep a spool of it on hand.)


And with that, I had a corset all ready to wear under my wedding dress!


Well, almost. . .


Turns out I'd miss calculated the center front neckline dip, and had accidentally used a center busk that was too short. Oops. The corset now gaped open at the top.


I fixed the issue by adding a couple hooks and eyes to hold the front closed.


And with that, my wedding corset was ready to go!


It was very comfortable!


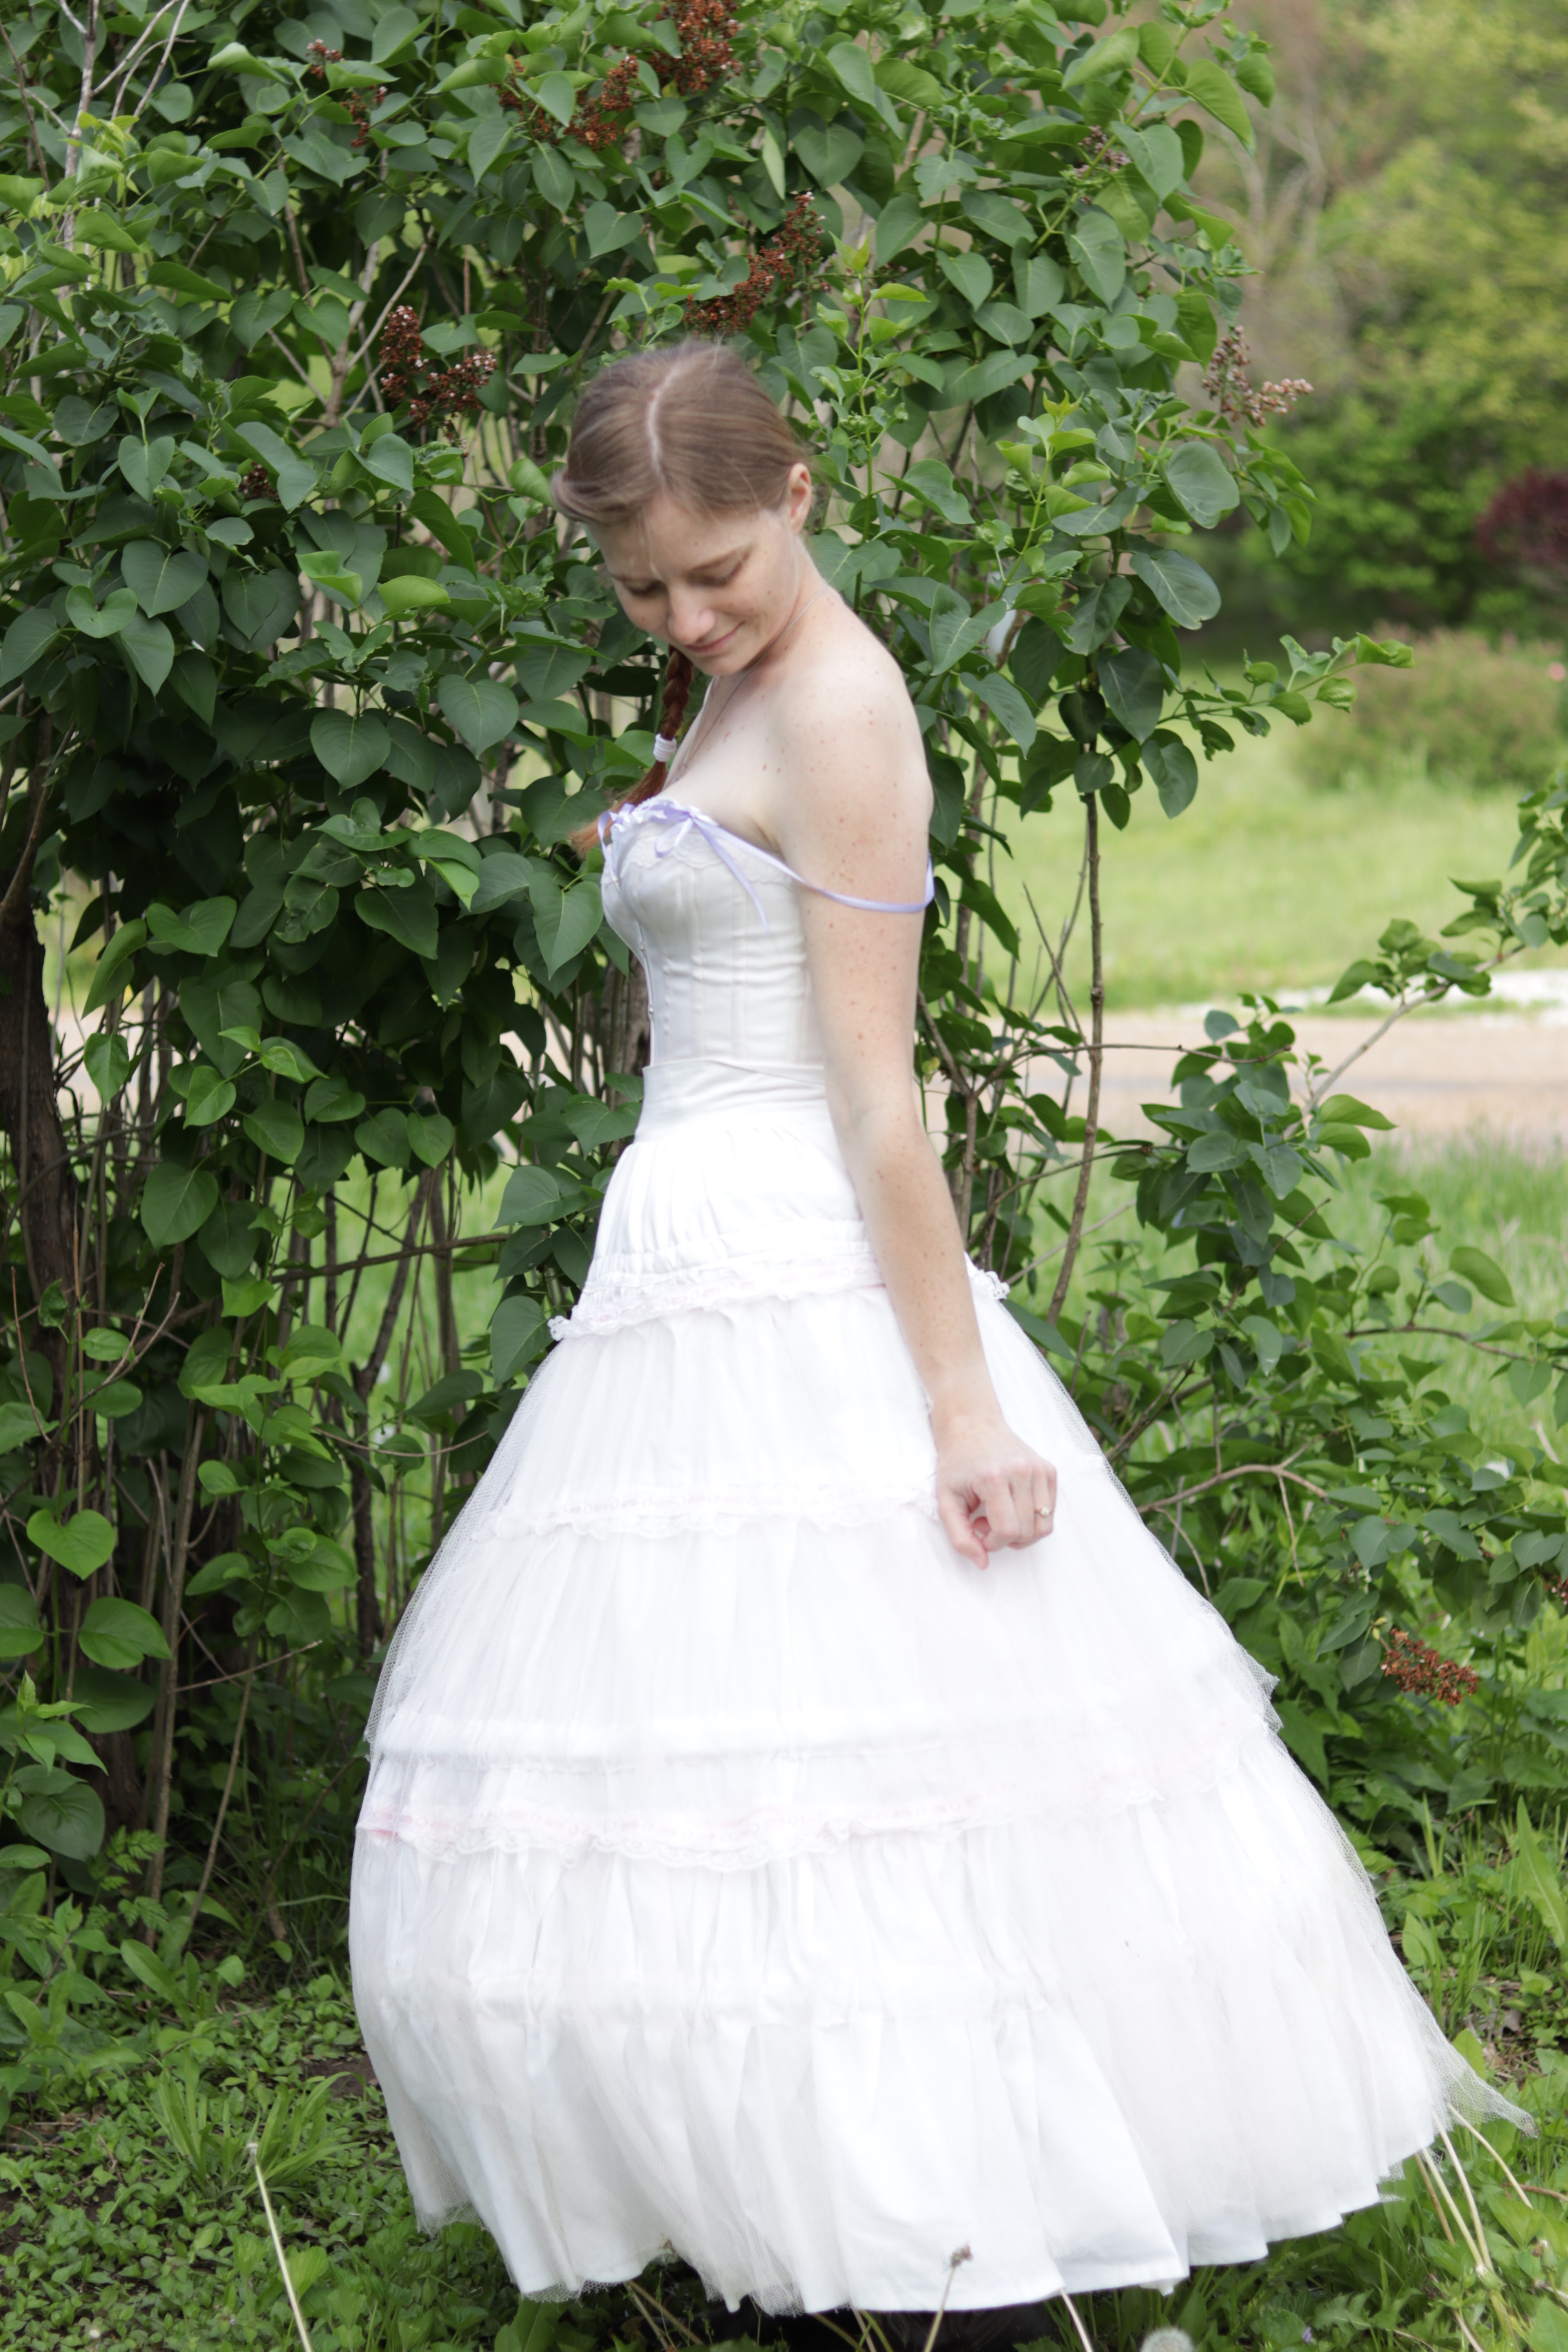
And supported the weight of my hoop skirt beautifully!


No more discomfort here!


My lesson was learned,


If one plans on wearing a hoop skirt. . .


One should always, always, plan on wearing a corset as well.


I promise, with a properly fitted corset, it will be more comfortable!


The last four photos in this post were taken on my wedding day by my fabulous photographer, Jennifer! Keep your eyes open, because from here on out, wedding photos will be sneaking their way into quite a few of my "Making My Wedding Dress" series posts!

If you missed it. . .

Here you can find how the wedding dress design came together.
Here's the post all about the fabrics specifically chosen for the dress. 
And here is the post about figuring out the perfect dress pattern.

And for more on my wedding undergarments, you can find out all about my blue silk petticoat here!