Hemming miles and miles and miles of organza last month was not in my plans. But when your little sister happens to be a senior in high school (how?!?!?) and prom happens to be happening in March, how can you say no to making that dream prom dress of hers?!?!?

You can’t.

And that is how I ended up hemming miles of organza.

I made the dream prom dress in 3.5 weeks, it turned out exactly the way she wanted, she looked like a princess wearing it, and I intend to avoid organza for a while now.


Hermione’s Yule Ball dress from Harry Potter and the Goblet of Fire, in blue (the color it was in the book, in the movie it was changed to pink), with a fuller skirt.

Once I got past the initial “You want me to make WHAT in less than a month?!?!?” I set to brainstorming patterns and thinking through fabric requirements while my mom and sister searched out fabrics - baby blue satin for the bodice and the base skirt, baby blue chiffon for the flutter sleeves, and three different shades of blue organza for the skirt. They found the satin, chiffon, and navy blue organza at Hobby Lobby. The other two shades of blue organza could not be found locally and had to be ordered online.

As for the patterns, I told my sister to go look through my pattern stash and find Simplicity 8404 - the live action Belle dress from the 2017 movie. With very little alteration I could make it work for a very full version of Hermione’s dress’s skirt. (This is the pattern I used for the bodice of my wedding dress - but I hadn't used the skirt for anything yet, so I was excited to try it out!)

As for the bodice pattern I just told her to search my stash - I was sure I had some sort of cupped bodice pattern that could be easily altered to get the look we were going for. She found M6331 in my stash which worked perfectly! It offers different pattern pieces for A, B, C, and D sized cups which made things way easier than a single cup size pattern would have for this style of bodice.

With the patterns and fabrics decided on, my sister came to visit for a day so we could get the bodice fitted to her and cut out the very full skirt.
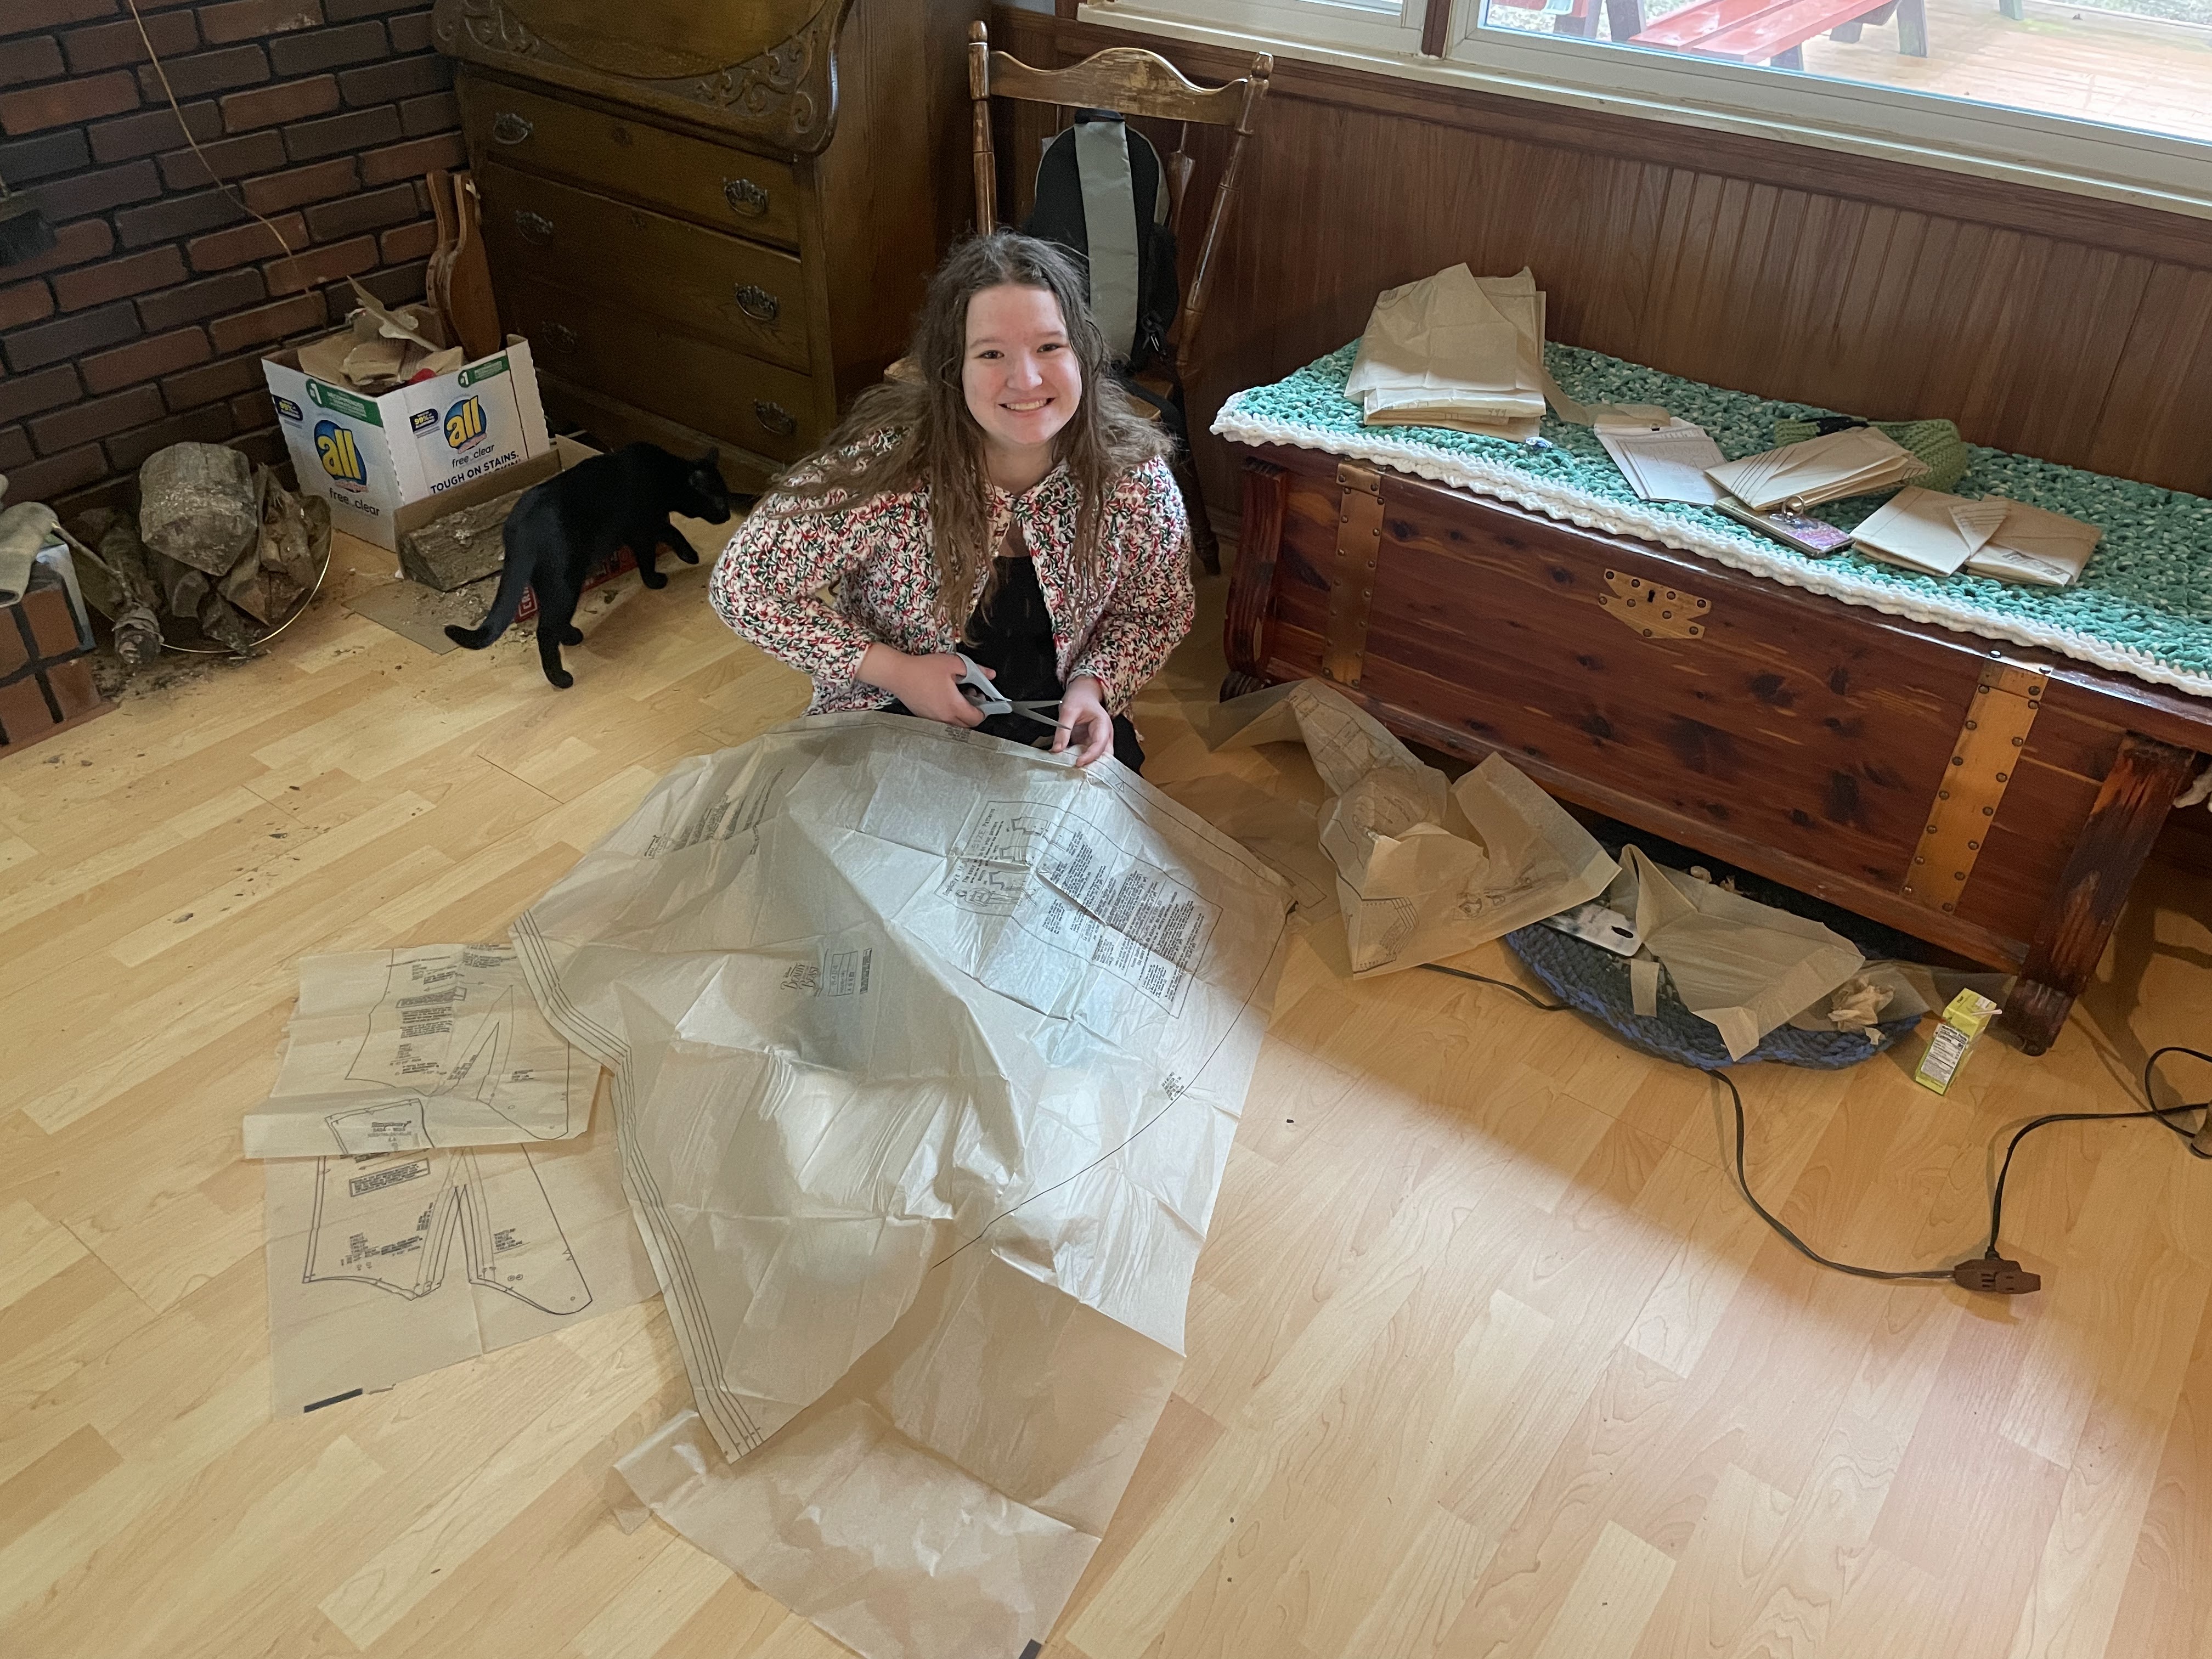
While my sister cut out the skirt pattern. . .

I made some alterations to the bodice pattern to give it the shape we wanted - a basque waist and more triangular shaped cups.

Then I made a quick mock-up out of an old sheet.

My sister tried it on and we made a few alterations - taking in the waist and the bust, letting out the hips, and cutting the back into four pieces, rather than just 2 with darts.

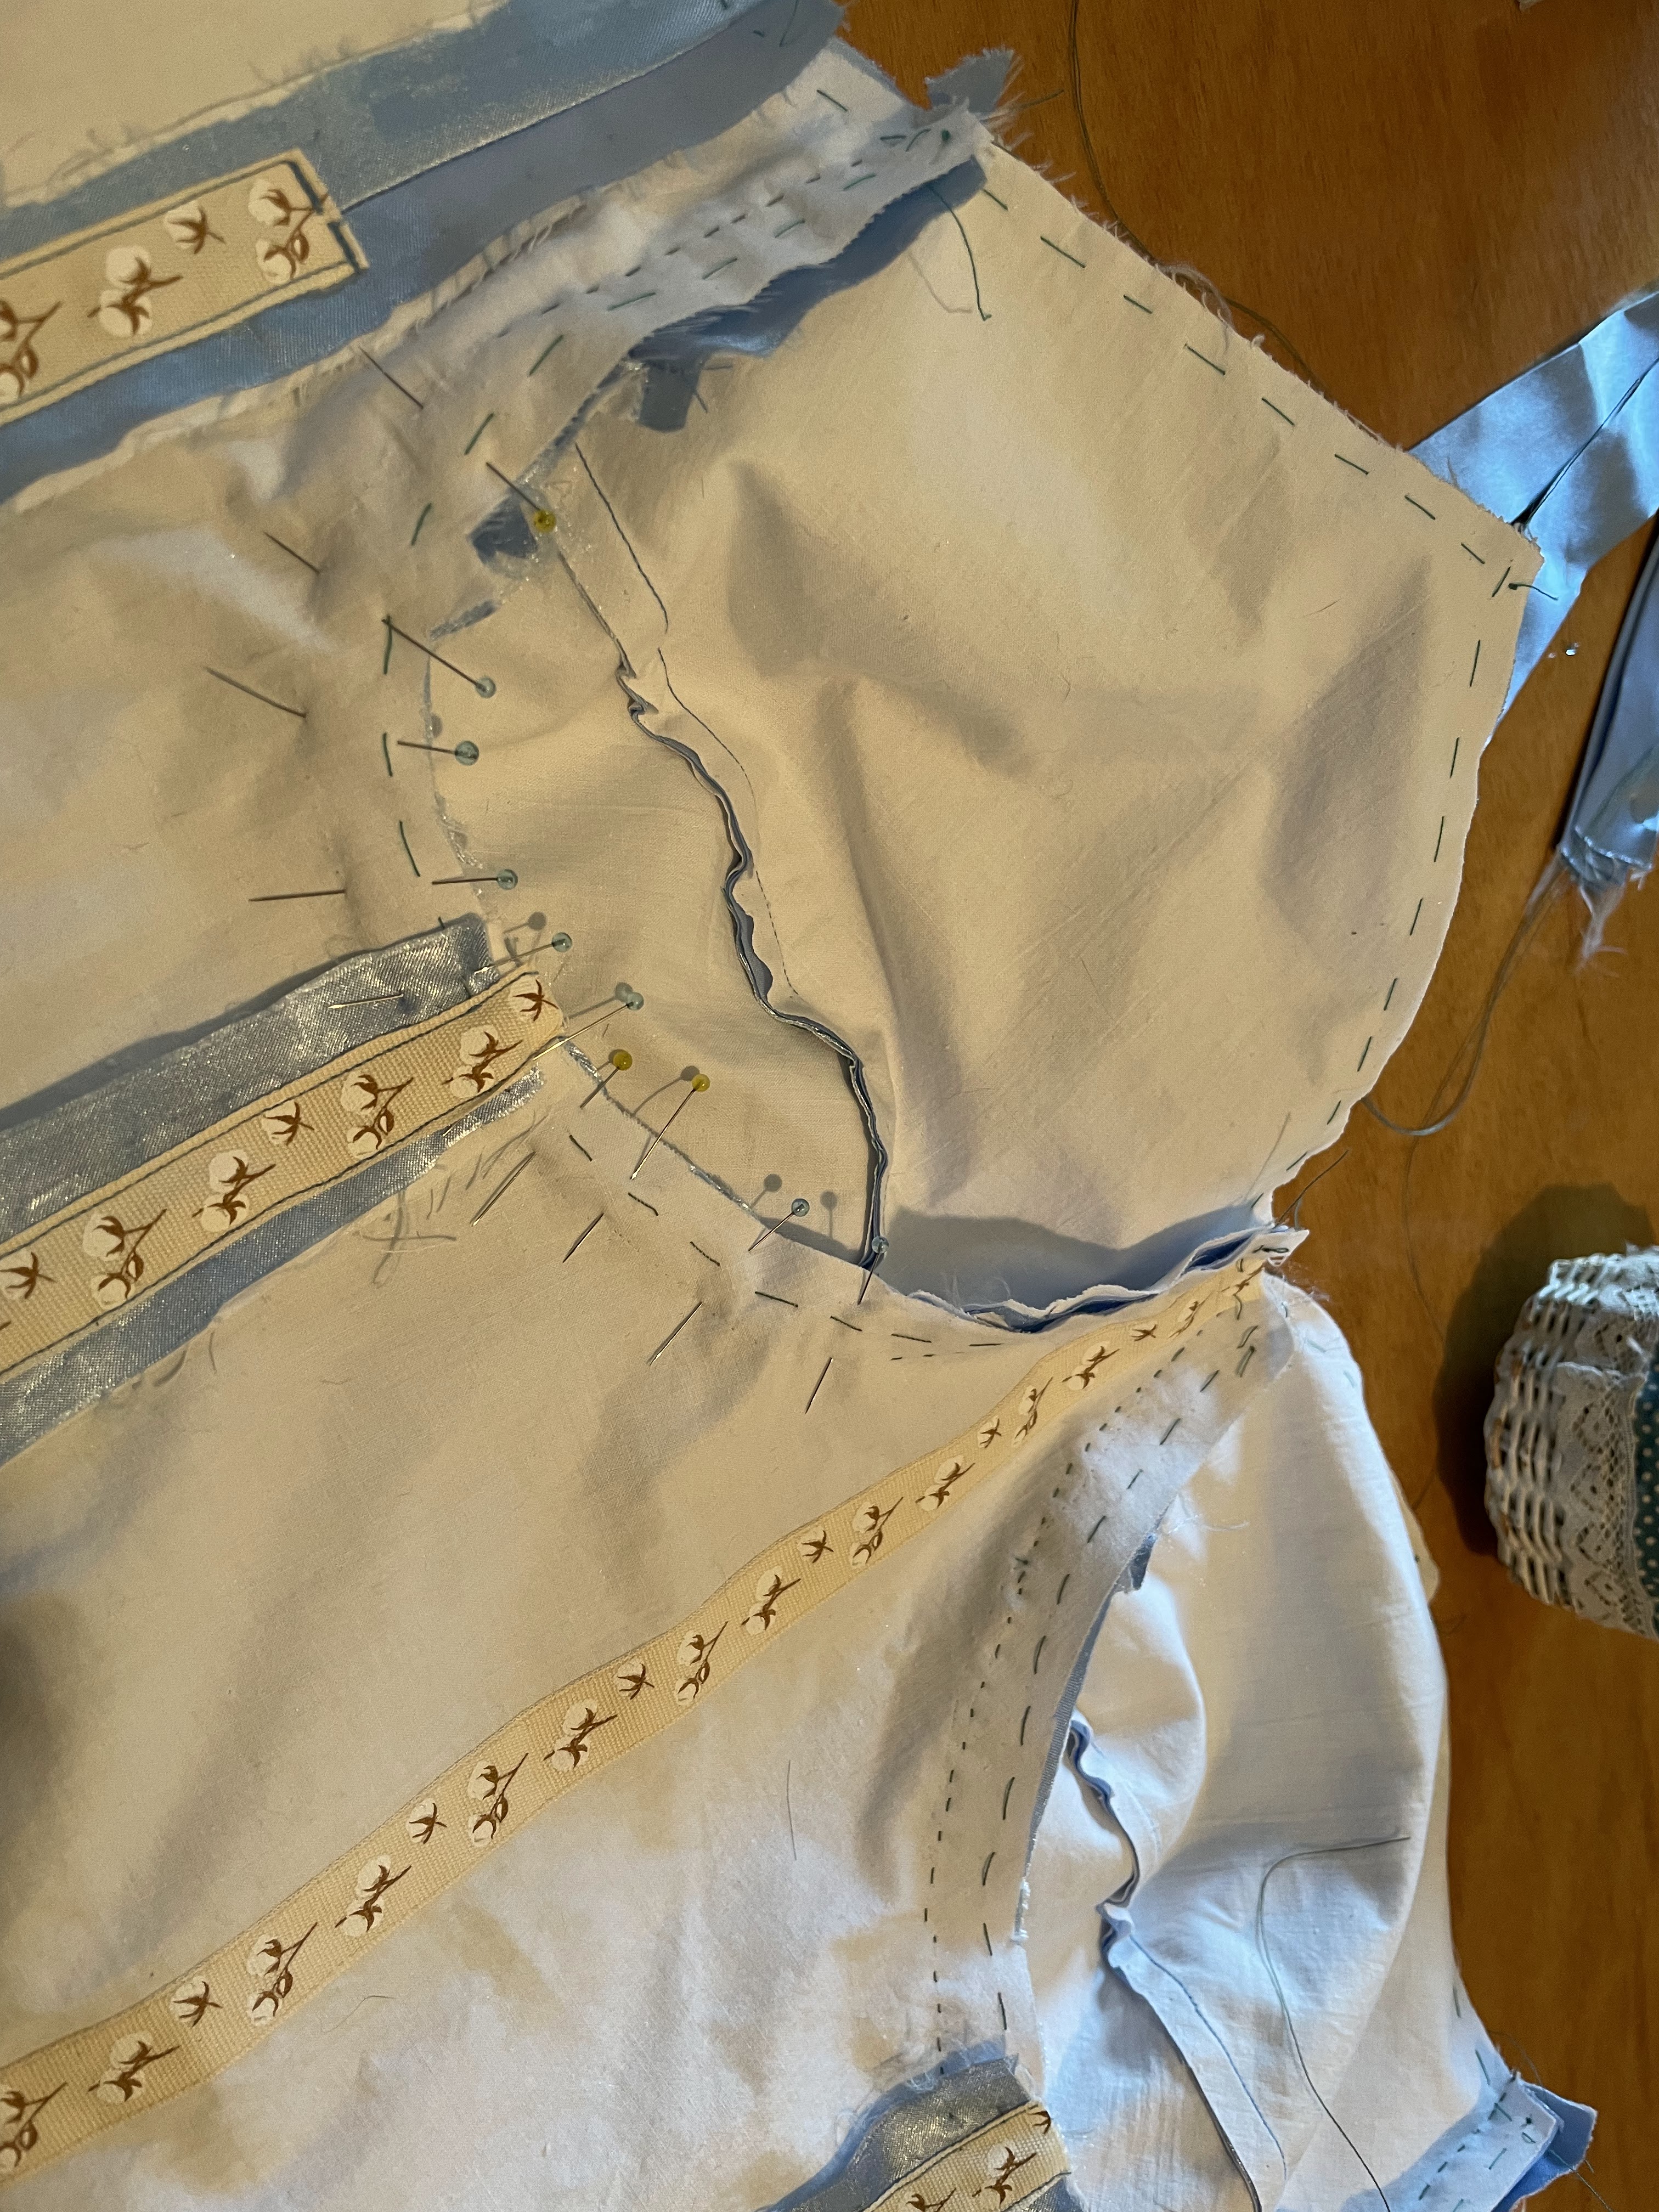
I took apart the mock-up and traced the pieces with the alterations onto some paper to make a new pattern, then used that to cut out a second mockup from the firm cotton I intended to use for the bodice interlining of the final dress.


I marked the alterations with pins while my sister was wearing the mockup, then cut them and transferred them to the paper pattern I’d made. The bodice pattern was now good to go!

As for the skirt, the Belle dress had 3 tiers of organza, and we wanted atleast 5. So I measured and marked 2 additional tiers onto the pattern pieces, and my sister traced those new tiers onto tissue paper so we would have pattern pieces for cutting them out of the organza.

Once that was done the cutting out could commence!

We laid out the 6 yards of blue satin on my living room floor (good thing we still haven’t bought a couch!) and got all 7 skirt panels cut out - with only one needing to be pieced together. (7 or 8 yards of fabric would have been better than 6.)


Next we laid out the navy blue organza for the bottom tier and the skirt lining fabric. 8 yards of organza yielded the 6 skirt overlay panels needed. As for the lining, I ran out of the lining fabric I had on hand, so 3 of the skirt lining panels are different colors. Good thing no one sees it!

My mom was absolutely wonderful and helped me cut out all the big panels.

Once the other two shades of organza arrived in the mail a couple days later, I got those tiers cut out too - thankfully those panels were small enough I could cut them out on my dining table rather than crawling all over the floor. However, if still took 6 yards of royal blue organza to cut out the two middle tiers and about 3 yards of baby blue for the two top tiers. This skirt was a fabric hog!


I had the perfect shade of blue silk thread to do the hand sewing with - and it would be used a lot to finish this dress!

Once all the layers of organza, except the bottom tier, were hemmed, all 5 layers were basted together, gathered up, and sewn to the bodice.


I used some vintage bias hem facing from my stash for the satin skirt hem.


Once the binding was on the straps with the sleeves were handsewn in place.


Wow, so beautiful. Loved seeing all your steps and the results! Very well done, lots of love and careful stitches make for a priceless dress!
ReplyDeleteGorgeous! Labor of love.
ReplyDeleteIt's beyond beautiful, and your skills in dress designing and dressmaking are amazing. Your sister , in this gown, would be the belle of the coronation ball for King Charles III.
ReplyDeleteAmazing! Love the theme and all the detail you showed.
ReplyDeleteIncredible!!!! Beautiful, heartfelt and precious memory for both of you
ReplyDeleteIncredible accomplishment in a short period of time given the complexity of the dress and the fabrics. What a treasure from you to your sister. Congratulations!
ReplyDeleteWow, well done! Congratulations to your sister and you on the dress making. Regula
ReplyDeleteThis elegant gown with it's wide skirt reminds me of the dress Julie Styles wore to Prince Edward's Coronation ball in The Prince & Me
ReplyDeleteI love it, it looks so nice on her! I'm just getting to the stage in my own sewing skills where I can draft, cut and paste patterns, and fit okay, so I loved reading the post! Congrats to your sister as well! And just in time for the King's coronation. ;)
ReplyDelete